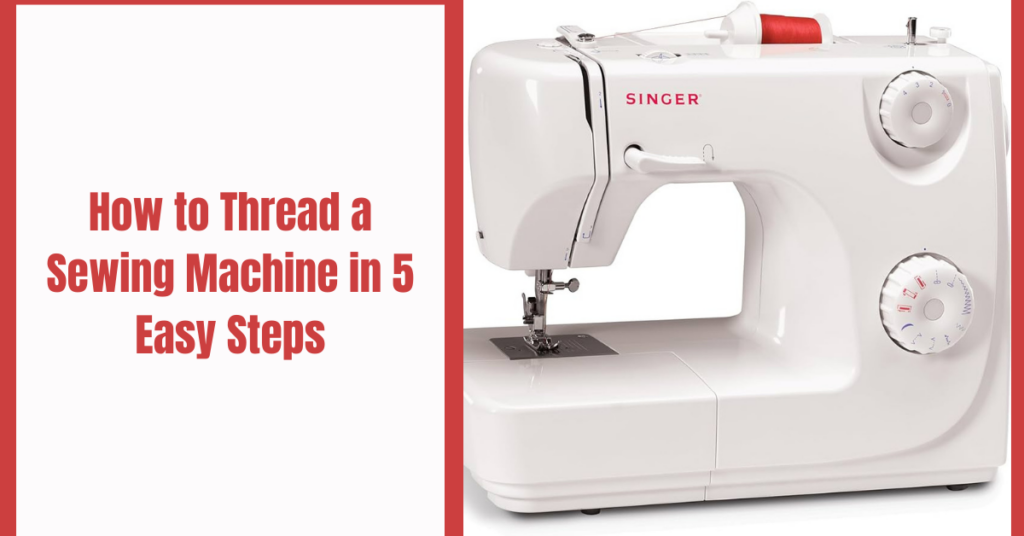
How to Thread a Sewing Machine in 5 Easy Steps
If you are new to sewing, one of the first things you need to learn is how to thread a sewing machine. Threading a sewing machine may seem complicated, but it is actually quite easy once you know the steps. In this article, we will show you how to thread a sewing machine in 5 easy steps, using a basic model as an example. You can apply these steps to most types of sewing machines, but make sure to check your manual for any specific instructions.
Wind the bobbin
The bobbin is a small spool of thread that goes under sewing machine needles and forms the bottom stitch. To wind the bobbin, you need to place a spool of thread on the spool pin at the top of the machine. Then, take the thread and pass it through the thread guide, which is usually a small metal loop or hook.
Next, insert the thread through a hole in the bobbin and place the bobbin on the bobbin winder, which is usually on the right side of the machine. Push the bobbin winder to the right and press the foot pedal to start winding the thread around the bobbin. Stop when the bobbin is full or when you have enough thread for your project. Cut the thread and remove the bobbin from the winder.
Insert the bobbin
To insert the bobbin, you need to open the bobbin case, which is usually a metal or plastic cover on the lower part of antique sewing machines. Depending on your model, you may need to slide or flip open the cover. Then, drop the bobbin into the bobbin case with the thread coming out counterclockwise.
Pull the thread through the slot and under the tension spring, which is a small metal piece that regulates the tension of the thread. Leave about 4 inches of thread hanging out and close the cover.
Thread the upper part
To thread the upper part of the machine, you need to follow a series of guides that will lead you to the needle. Start by placing another spool of thread on the spool pin and passing it through the same thread guide as before.
Then, bring the thread down and around a tension disc or dial, which is usually on the front or side of the machine. The tension disc or dial controls how tight or loose your stitches will be. Next, bring the thread up and through a take-up lever, which is a metal arm that moves up and down as you sew. Then, bring the thread down again and through another guide near the needle. Finally, insert the thread through the eye of the needle from front to back. Leave about 6 inches of thread hanging out.
Pick up the bobbin thread
To pick up the bobbin thread, you need to hold the upper thread with your left hand and turn the handwheel with your right hand. The handwheel is a large knob on the right side of the machine that moves the needle up and down.
Turn it toward you until the needle goes down and comes back up. Then, pull gently on the upper thread and you should see a loop of bobbin thread coming out from under the needle plate. The needle plate is a metal plate with markings that help you align your fabric. Pull both threads to bring out about 4 inches of each and place them under and behind the presser foot. The presser foot is a metal or plastic foot that holds your fabric in place as you sew.
Start sewing
To start sewing, you need to place your fabric under the presser foot and lower it using a lever or button. Then, press lightly on
the foot pedal to make your machine run and move your fabric along with your hands. You can adjust your stitch length and width using dials or buttons on your machine. To finish a seam, you can use a reverse button or lever to sew backwards for a few stitches and lock your stitches in place. Then, raise
the presser foot and cut your threads using scissors or a built-in cutter.
Congratulations! You have successfully threaded your sewing machine in 5 easy steps. Now you can enjoy sewing various projects with confidence and ease.

