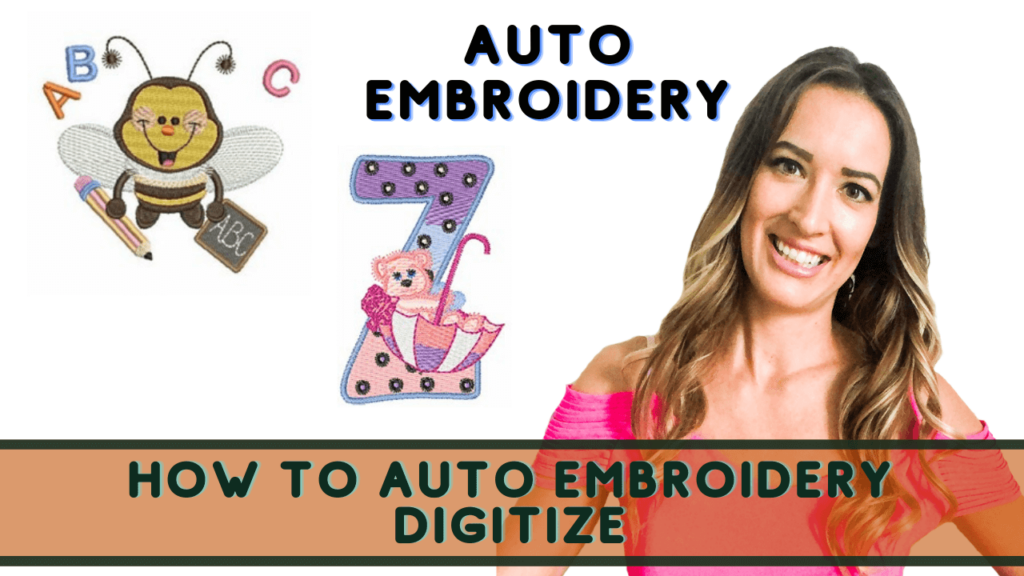
How to auto digitizing embroidery | wilcom software
ZDigitizing is offering a wide range of digitizing solutions to meet the needs of businesses and individuals alike. With expertise in logo digitizing.
Embroidery, with its intricate stitches and vibrant threads, has long been a timeless art form. In the digital age, software like Wilcom has revolutionized the way designs are translated into stunning embroidered creations. One of the standout features of Wilcom is its auto-digitizing capability, a powerful tool that streamlines the digitizing process. In this comprehensive guide, we’ll explore the world of auto-digitizing in Wilcom embroidery software, unlocking the potential for effortless precision in your embroidery projects.
Understanding Auto-Digitizing
Embroidery digitizing involves the conversion of digital designs into machine-readable embroidery files. Auto-digitizing takes this process a step further by automating the conversion, transforming images or artwork into stitch data without manual input for each stitch. While auto-digitizing is a time-saving feature, it’s essential to understand its capabilities and limitations for optimal results.
Getting Started with Wilcom Embroidery Software
Before diving into the auto-digitizing process, let’s ensure you have a solid foundation with Wilcom embroidery software. Whether you’re using Wilcom EmbroideryStudio or Wilcom Hatch, familiarity with the software’s interface, tools, and basic digitizing functions is key.
1. Familiarize Yourself with the Interface:
-
Take the time to explore the Wilcom software interface. Understand the location of essential tools, menus, and panels. This familiarity will make navigating the software more intuitive during the digitizing process.
2. Learn Basic Digitizing Functions:
-
Acquaint yourself with basic digitizing functions, including creating shapes, adjusting stitch types, and defining stitch parameters. A solid understanding of manual digitizing will complement the auto-digitizing process.
3. Import Your Design:
-
Start by importing the design you want to digitize. This could be an image, artwork, or any graphic that you wish to transform into an embroidered masterpiece. Wilcom supports various file formats, ensuring flexibility in design choices.
Now that you’re ready to embark on your auto-digitizing journey, let’s delve into the step-by-step process within Wilcom embroidery software.
Step-by-Step Auto-Digitizing Process in Wilcom
1. Open Your Design:
-
Begin by opening your design in Wilcom embroidery software. Ensure that the design is clear, well-defined, and suitable for auto-digitizing. Remember that intricate details may require additional manual adjustments later.
2. Access Auto-Digitizing Tools:
-
In Wilcom, navigate to the auto-digitizing tools. The location may vary slightly depending on the specific best embroidery software version you’re using. Look for options related to automatic digitizing or image-to-stitch conversion.
3. Configure Auto-Digitizing Settings:
-
Wilcom provides various settings and parameters for auto-digitizing. These settings allow you to control aspects such as stitch density, underlay, and stitch types. Experiment with these settings based on the complexity and size of your design.
4. Select Auto-Digitizing Areas:
-
Specify the areas of your design that you want to auto-digitize. Wilcom often allows users to select specific regions or the entire design. This flexibility enables you to focus on particular elements, ensuring precise results.
5. Adjust Stitch Types and Parameters:
-
Even in auto-digitizing, you have control over stitch types and parameters. Wilcom typically categorizes stitches into types such as satin, fill, and run. Adjust these settings to achieve the desired visual and textural effects in your embroidered design.
6. Refine the Auto-Digitized Design:
-
Once the auto-digitizing process is complete, review the digitized design. Wilcom’s auto-digitizing is a powerful tool, but manual refinement may still be necessary. Check for any areas that require adjustments, fine-tune stitch types, and ensure the overall quality of the digitized result.
7. Save Your Digitized Design:
-
After refining the design, save your digitized file in the preferred embroidery machine format, such as DST, PES, or another compatible format. This step ensures that your design is ready for transfer to the embroidery machine.
Tips for Successful Auto-Digitizing in Wilcom
Achieving optimal results with auto-digitizing in Wilcom requires a combination of software proficiency and design consideration. Here are some tips to enhance your auto-digitizing experience:
1. Start with High-Quality Designs:
-
For the best results, begin with high-quality designs. Images with clear outlines, distinct colors, and well-defined details provide a solid foundation for the auto-digitizing process.
2. Understand Stitch Types:
-
Familiarize yourself with different stitch types and their visual effects. Understanding how satin stitches, fill stitches, and run stitches contribute to the overall design allows for more informed decisions during auto-digitizing.
3. Experiment with Settings:
-
Don’t hesitate to experiment with the various settings available in the auto-digitizing process. Adjusting parameters such as stitch density and underlay can significantly impact the appearance and texture of the embroidered design.
4. Manual Refinement is Key:
-
While auto-digitizing is a powerful feature, manual refinement is often necessary for intricate designs. Take the time to review and refine the digitized result, ensuring that it meets your expectations for quality and accuracy.
5. Consider Stitch Direction:
-
Pay attention to the direction of stitches in different areas of your design. Adjusting stitch direction can influence the visual appeal and texture of the embroidered result.
6. Practice on Sample Designs:
-
Before tackling a complex project, practice auto-digitizing on simpler or smaller designs. This allows you to become more familiar with the process and refine your skills without the pressure of a large and intricate project.
Challenges and Considerations
While auto-digitizing in Wilcom is a powerful tool, it’s essential to be aware of potential challenges and considerations:
1. Complexity of Designs:
-
Highly complex designs may not always auto-digitize perfectly. Be prepared to invest time in manual refinement for intricate details and nuanced elements.
- Good News: If you are looking for embroidery digitizing services and Vector art services, Then ZDigitizing is best choice for you. Zdigitizing is a professional company that provides complete digitizing and vector art services worldwide.
2. Trial and Error:
-
Auto-digitizing often involves a degree of trial and error. Don’t hesitate to experiment with settings and make adjustments based on the specific requirements of each design.
3. Balance Automation and Manual Control:
-
Striking the right balance between automation and manual control is key. While auto-digitizing streamlines the process, manual refinement ensures the highest quality results.
Conclusion
Auto-digitizing in Wilcom embroidery software is a game-changer for enthusiasts and professionals alike. It transforms the digitizing process, making it more accessible and efficient. However, mastering auto-digitizing requires a combination of software proficiency, design understanding, and a willingness to experiment.
As you embark on your auto-digitizing journey, remember that practice, experimentation, and a keen eye for detail will contribute to your success. With Wilcom’s powerful auto-digitizing tools at your disposal, you have the potential to turn your digital designs into exquisite embroidered masterpieces. Happy digitizing!
