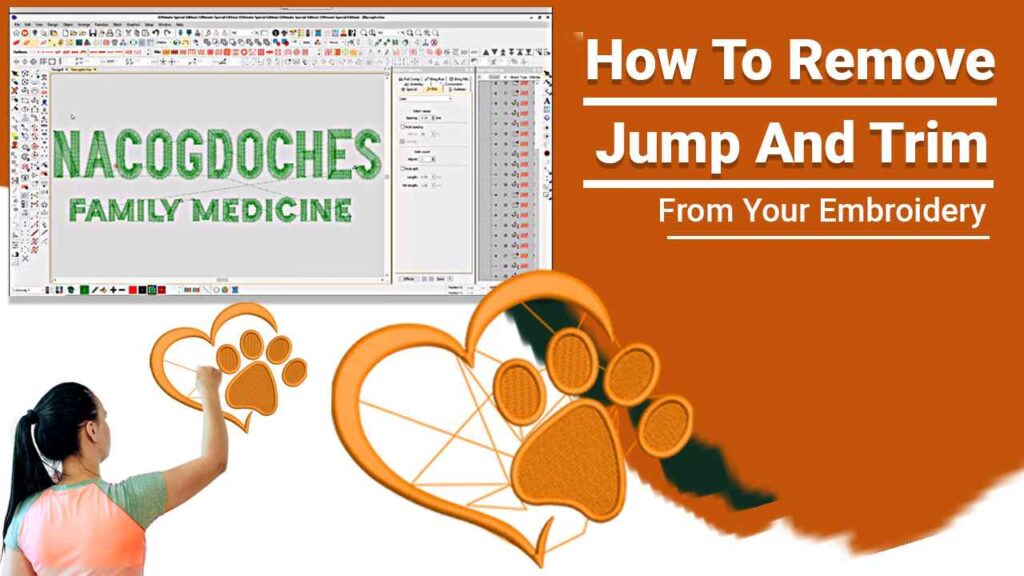
How To Remove Jump And Trim From Your Embroidery | 2 Amazing Ways
ZDigitizing is offering a wide range of digitizing solutions to meet the needs of businesses and individuals alike. With expertise in logo digitizing.

Embroidery is an art that combines creativity with precision, but sometimes, the presence of jump stitches and excess thread trimmings can mar the perfection of your stitched masterpiece. In this detailed guide, we’ll explore the techniques and tools to effectively remove jump stitches and trim excess threads, ensuring that your embroidery projects achieve the flawless finish they deserve.
Understanding Jump Stitches in Embroidery
Before we dive into the removal process, let’s unravel the concept of jump stitches in embroidery file format:
What Are Jump Stitches?
Jump stitches occur when the embroidery machine needs to move from one part of the design to another without stitching. Instead of lifting the needle and moving across the fabric, the machine creates a “jump” or bridge of thread. While jump stitches are a natural part of embroidery, excessive or long jumps can affect the overall appearance of the design.
Why Remove Jump Stitches?
-
Enhanced Aesthetics:
- Removing jump stitches contributes to a cleaner, more professional-looking embroidery design.
-
Improved Durability:
- Excess thread jumps can create bulk and affect the durability of the embroidery, especially in areas subject to wear.
-
Reduced Risk of Snags:
- Long jump stitches can catch on objects or even fingers, leading to potential snags or damage.
Tools for Jump Stitch Removal
Before we explore the step-by-step process, gather the following tools:
-
Embroidery Scissors:
- Precision scissors with a fine tip for trimming threads close to the fabric.
-
Seam Ripper:
- Useful for carefully unpicking stitches and removing jump stitches without causing damage.
-
Tweezers:
- Fine-tipped tweezers for grasping and pulling out small pieces of thread.
Now, let’s proceed to the step-by-step guide.
Step-by-Step Guide: Removing Jump Stitches
Step 1: Inspect the Design
-
Evaluate Jump Stitch Placement:
- Examine your embroidery design to identify the locations of jump stitches.
-
Check for Excessive Jumps:
- Note any long or unnecessary jump stitches that may affect the design’s appearance.
Step 2: Secure the Fabric
- Stabilize the Area:
- If the fabric is not already stabilized, secure it in the embroidery hoop to prevent distortion.
Step 3: Identify Jump Stitch Endpoints
-
Locate Starting and Ending Points:
- Identify where the jump stitch begins and ends within the design.
-
Use the Embroidery Machine:
- If the machine has an automatic jump stitch removal feature, utilize it for easier identification.
Step 4: Trim Excess Thread
-
Trim Close to Fabric:
- Use precision embroidery scissors to trim the jump stitch as close to the fabric as possible.
-
Avoid Cutting Stitches:
- Be cautious not to cut any actual stitches of the embroidery design.
Step 5: Repeat for Remaining Jump Stitches
-
Systematically Address Each Jump Stitch:
- Work methodically through the design, repeating the process for each identified jump stitch.
-
Check for Loose Threads:
- Ensure that no loose threads remain after trimming to maintain a tidy finish.
Trimming Excess Threads in Embroidery
Jump stitches are not the only culprits when it comes to thread-related imperfections. Trimming excess threads left by the machine is equally important for achieving a polished look.
Step-by-Step Guide: Trimming Excess Threads
Step 1: Complete the Embroidery
- Finish the Design:
- Allow the machine to complete the embroidery process, including any final trims it performs.
Step 2: Inspect the Design
-
Check for Loose Threads:
- Inspect the finished embroidery for any loose or excess threads.
-
Identify Thread Trimming Points:
- Note the locations where the machine has left excess thread.
Step 3: Trim Excess Threads
-
Use Embroidery Scissors:
- Carefully trim any excess threads with precision embroidery scissors.
-
Avoid Cutting Stitches:
- Take care not to cut into the actual stitched design.
Step 4: Final Inspection
-
Examine the Entire Design:
- Conduct a thorough inspection to ensure all jump stitches and excess threads have been successfully removed.
-
Make Necessary Corrections:
- If any imperfections are spotted, make the necessary corrections using the same trimming techniques.
Tips for Successful Jump Stitch and Thread Trimming
-
Regular Maintenance:
- Periodically check your embroidery machine for any needed adjustments or maintenance that may contribute to excess thread.
-
Practice on Scrap Fabric:
- Before working on your main project, practice jump stitch and thread trimming techniques on scrap fabric to refine your skills.
-
Patience is Key:
- Take your time during the trimming process to avoid accidentally cutting into the design.
-
Utilize Machine Features:
- If your embroidery machine has automated features for jump stitch removal, explore and use them for added convenience.
Conclusion
Mastering the art of removing jump stitches and trimming excess threads is a valuable skill for any embroiderer. By paying attention to these details, you not only enhance the aesthetics of your embroidery projects but also contribute to their durability and professional finish.
Embrace the precision required in embroidery, and with the right tools and techniques, you’ll elevate your creations to new levels of excellence. Happy stitching!
If you are looking for digitizing services to convert image to dst file, Then ZDigitizing is best choice for you. Zdigitizing is a professional company that provides complete digitizing and vector art services worldwide.

